
Also, this is not for those that blindly click "Ok" on everything that presents itself on their screen. Read everything, or this won't work.
That being said, I am amazed at how quickly and easily I can do this and have a good looking customized screen for Windows when it was such an issue in the past. I could always customize as I wanted to in Linux, but Windows was a hassle; not with the process that I explain in this post.
And, even noting the above disclaimer, the couple of times I didn't follow the directions exactly and didn't wait long enough (you'll see what I mean later) it just caused the patch not to work, and everything returned to normal, no harm no foul.
Oh, and this is all free and takes about 15 minutes, even less after you've done it a few times. I'll explain it in thorough detail, but once you get the hang of it, it is very simple.
I first discovered some of this when I was looking on ways to make XP look like Vista. To do that, just use the info in this post and some other free packages on the web and you can set up your system any way you want.
Mine looks like this:

http://i249.photobucket.com/albums/gg238/web4everyone/screenshot-2708.jpg
As I've said before, you can make yours look like whatever you want once you've got it set up.
I used a couple of packages that you need to download. I'll provide links but you could just as easily search around yourself.
UXTheme Multi-Patcher 5.5.exe from here.
This is the main bit of software that I used. This is a zip file that you'll download. Then unpack the zip file to somewhere you want. Don't run the .exe file just yet.
I also installed and ran ClearType from here. It is pretty straight forward. You just run the .exe file and it takes you through the process. You say yes to everything, click ok to install and click on yes to get it running. Not certain you need this, but it does make things looks smoother.
Now we are ready to run the UXTheme patch. Basically this is a patch that allows you to run any themes that you want rather than the default Windows themes. Windows, as you could guess, doesn't like this. So, during the installation process it tells you that you are trying to run something, but it needs to restore the defaults. WE DON'T WANT TO RESTORE THE DEFAULTS.
So, let's run UXTheme patch. When you double click it, it tells you what it is. You'll then click ok and it runs it's patch. It may look like, at first, that you are going back to the old Windows look, but that is just it resetting itself. Don't worry. Then you will see that it says to wait about a minute before canceling the Windows warnings; follow that advise. Then the Windows warning will come up. After you have waited for the patch to do it's thing (i.e. waited a minute or so like it tells you to), you will cancel the Windows warning. It will say, "Are you sure?! Are you crazy?!" Ok, not really, but it will look sort of like that. Just cancel the Window's warnings as the patch told you to. After the Window's warnings are gone, you finish with the patch and reboot the computer, just as it says to do.
Once you reboot it will look like nothing has changed. Well, that's 'cause you don't have any new themes to pick from.
Using mine as an example, I went to here for the ClockWork Orange theme. But pick any theme you want. From this site the ones that work for me are the ones that download as zip files. Some of the others are .exe files and they run under a different theming program, so I don't use those. You can look for other free XP themes out there on the web as you like.
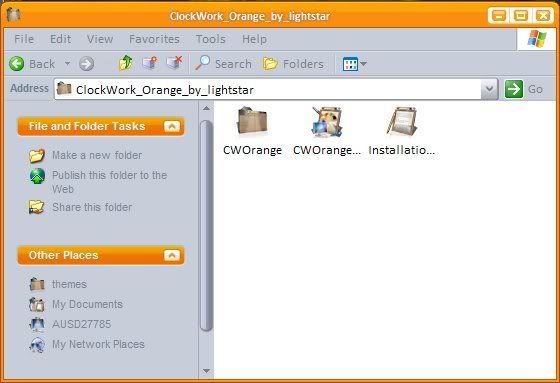
I then saved the file somewhere. I would then unzip it to a folder of my choosing. Once the package is unzipped, I copy all the contents of the folder (there are few files in there, just ctrl+a to select all, then ctrl+c to copy them all, is what I did).
Then we need to open the Windows theme folder. That is at C:\WINDOWS\Resources\Themes.
Once I have that folder open I just ctrl+V to paste the stuff that I just copied. Now all the CWorange files are in the Windows theme folder as well.
To be honest with you, I right clicked the Windows theme folder and made a shortcut, then moved that shortcut to my desktop. Then I can open it quicker in the future when I add more themes. But that is up to you.
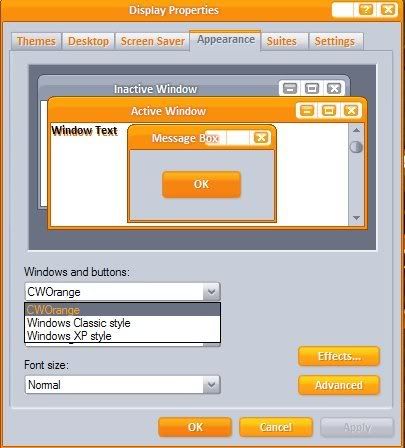
If you did everything right, if you ran the patch right, then you now can pick the ClockWork Orange theme, if you are using my example. Right click on your desktop in an empty spot, click on Properties, then Appearance tab. Now check under the drop-down box for Windows and Buttons and your new CWOrange selection should be there. Click it and now you have customized with your first theme.
I actually have a handful of themes to pick from now on multiple computers, but it's all fun and easy once you've set it up once or twice. Enjoy!
PS That wallpaper is from devaint art by an artist named Valerio Vega. Good stuff!
 Save to del.icio.us
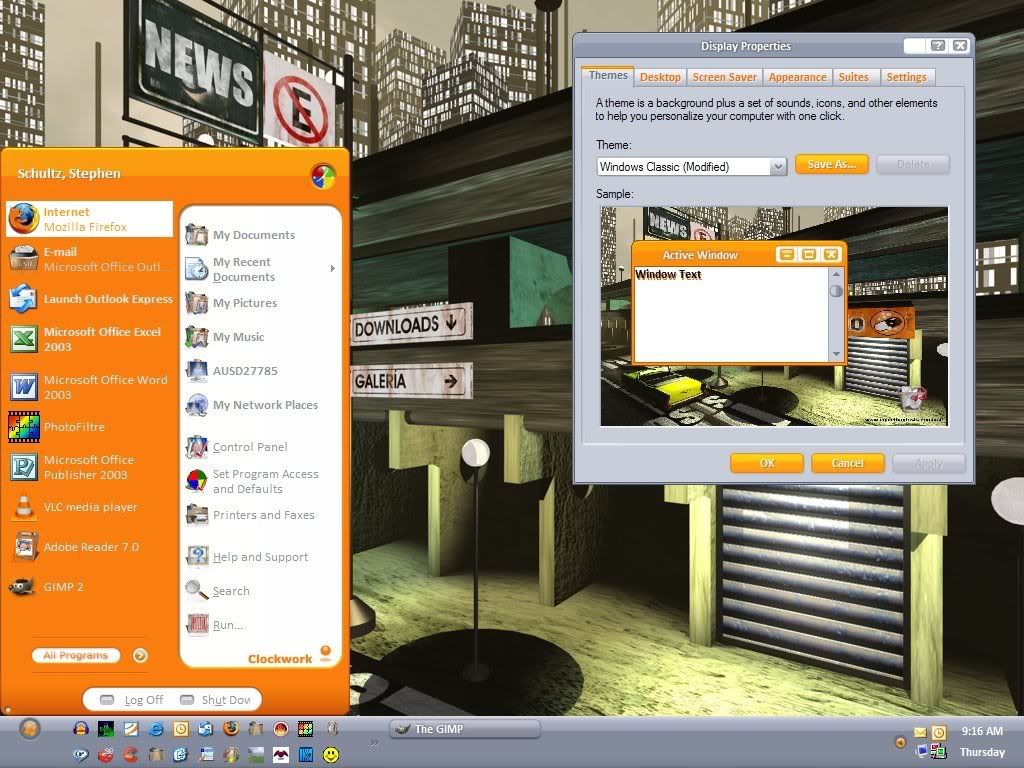